Faq Create and Send
Create and send an email using a campaign. Campaigns can be sent immediately or scheduled for later.
To create a Campaign:
- Click Campaigns.
- Click Create campaign.
- Fill out the details by adding your campaign name. Optional - select the Default template to use a pre-generated CAMRA email template that you can edit.
On the next screen you can confirm the Campaign name and set the email subject line. There are also the options to turn on tracking at this stage.
Select the full member list or a segmented list and click save settings
Designing your email content
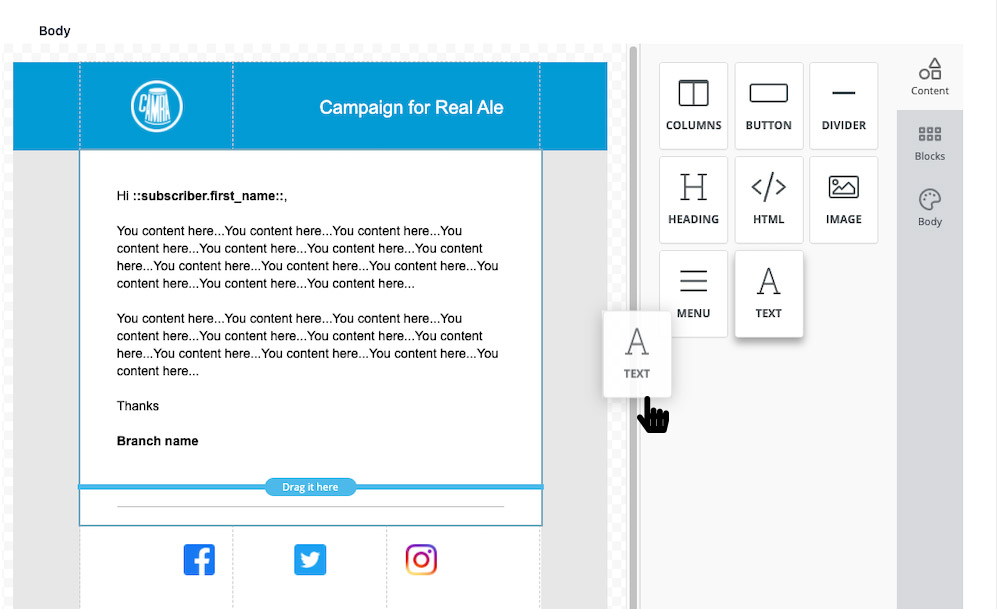
On the left hand menu, select content to begin. You will be presented with the email editor where you can add your content and customise the look and feel.
There is no limit to what you can add but there is a minimum set of requirements that should be in every email:
- CAMRA logo
- Unsubscribe link (that takes them to account.camra.org.uk)
- Your details i.e who is sending the email, name and branch
Designing your email is as simple as dragging a content block onto the email area you would like it to appear. Then click on the block to add content and set the styles.

You can also add dynamic content e.g Automatically add the member name, using the placeholders at the bottom of the page. copy the full placeholder and add to you email template where you would like it to appear. e.g ::subscriber.first_name::
Sending your email
Select send on the left hand menu to proceed.
You will be presented with a screen to review your campaign and also check the details are correct. Any issues highlighted will need to be resolved before you can send. e.g If the unsubscribe url is missing then this needs adding to the template.
Handy Features include a preview email or send test email.

To send the email, select send immediately or schedule for later.

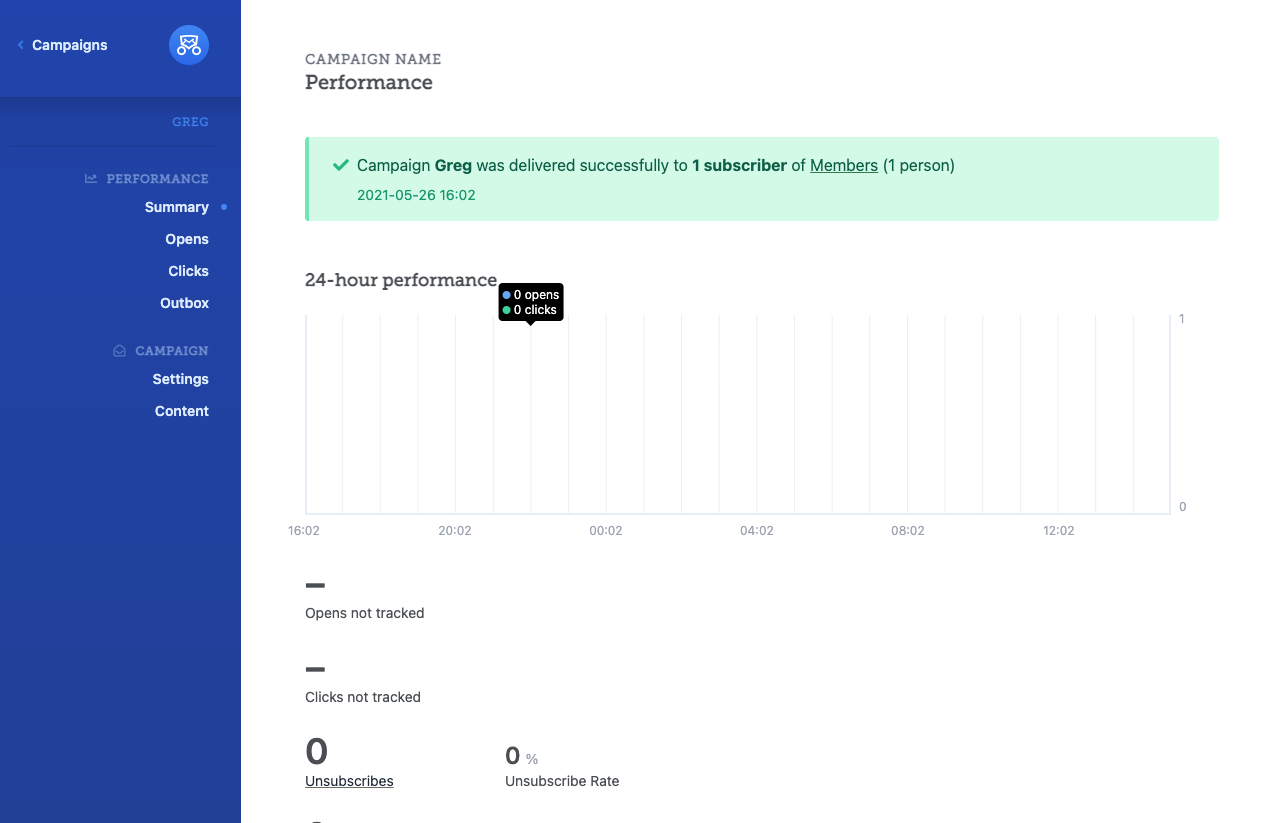
After pressing send, you will be presented with a screen showing how the delivery of the emails are going. This is handy to check if the emails are being sent. You can also resend failed emails from here.

